How to replace the rear brakes (and parking brakes) – Pajero/Shogun NM?
It is time to renew the rear brakes. So, we have a new article 🙂
Let me start with a warning…
We are dealing with the brakes system here. If you haven’t done it by yourself yet, you may want to use the help of someone who did.
We are not recommending to do that job by yourself and we are not responsible to any injury or harm that will be caused due to that.
Let’s start…
- Release the wheel nuts a little.
- Raise the Pajero, use a jackstand, never work without it.
- Secure the front wheels, put some blocks in front and after them so the car won’t move.
- Remove the wheel. Release the parking brake and shift the gear to “N”.
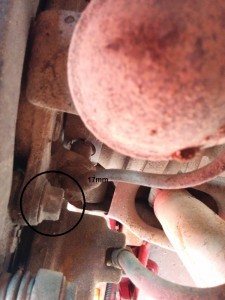
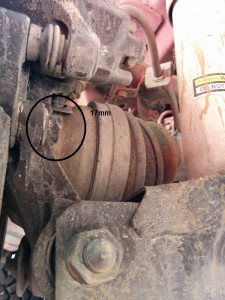
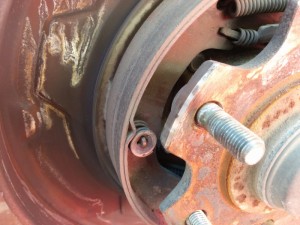
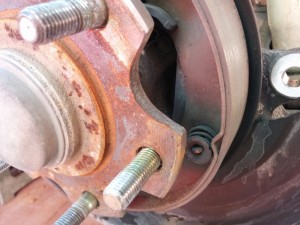
Now, we have to remove the caliper, it is being hold in place by 2 bolts:
The upper one:
The lower one:
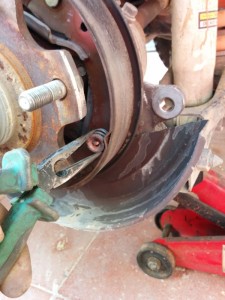
Remove the caliper – DO NOT disconnect the brake hose, just put the caliper on a safe place – you may want to tie it in order to secure it.
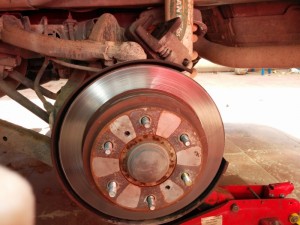
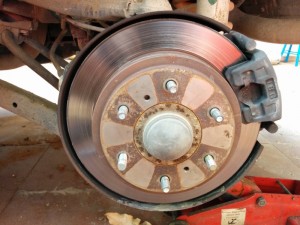
Use a 8mm bolt to remove the brake disc, carefully screw it into the holes and see the magic 🙂
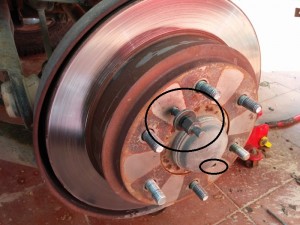
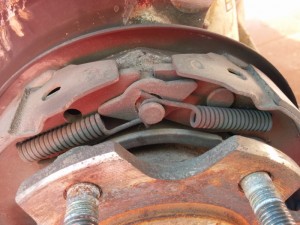
Now, you will see the parking brakes mechanism, Pay attention to each and every part as you will have to put it back in the exact same order…
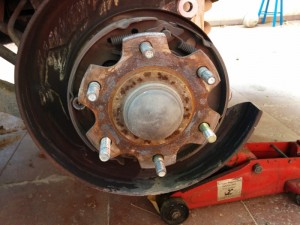
Upper view of the Pajero parking brake: notice the springs and plate. In order to remove the parking brake shoes, you have to pull those spring out, then remove the little plate.
After removing the springs:
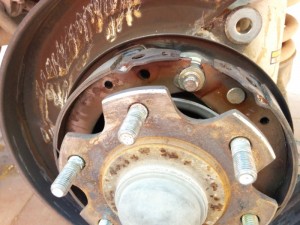
The lower spring and the adjuster, notice its direction.
Remove the spring and put it and the starwheel (adjuster) in a safe place.
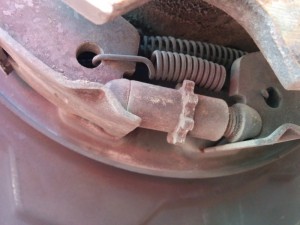
Now, let’s remove the shoes:
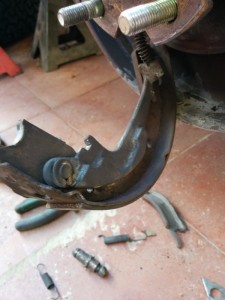
On each show you can see a pin and spring that holds it in centered in place.
In order to release it, you should use your finger / a flat screwdriver and hold the pin from behind, then, use a pliers to push the upper seat down and turn it 1/4 turn.
Then, pull the seat, spring and the second seat, notice their direction.
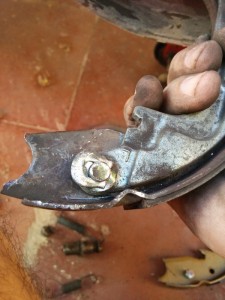
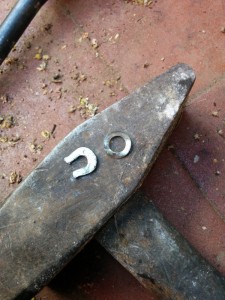
On one of the shoes you will see the parking brake cable end, you should remove the upper securing disc and spring disc, then, locate them on the new shoe and use a pliers to “close” the securing disc again.
Install everything in the reverse order.
Later we will see how to adjust the parking brake.
Next, you will have to put the new disc in place and new brake pads.
That part is fairly simple, put the new disc in place and squeeze the caliper so the new pads will fit on the new disc.
*** Good practice is to squeeze the caliper while the bleeding nipple is open so you won’t hurt the ABS system. You WILL NEED TO BLEED the air out of the system if you did it that way.
Install the caliper back in place, tight the bolts well…
How to adjust the parking brake?
While the car is still on the jack stands (in “N” and secured), access the starwheel from behind the wheel (you may need to remove a small rubber plug in order to access it).
Rotate the starwheel till the disc ca not be rotated, then, rotate the starwheel to the opposite direction 3-4 “clicks” – so the disc can be turned.
Pull the parking brake and verify that it doesn’t allow the wheel to rotate.
Put the plugs back in place.
Bleed the air out of the system if you used the nipple to squeeze the caliper.
Go out for a test drive…



can you help keep replacing timing belt kits it keeps jumping teeth on the belt .it is a nm model 3.5lt please help
Check the tensioner and the gears, maybe they are worn.
saar,
i have replaced tensioner every time i change the belts also seals and bearings,i will replace gears next time.
also another problem i have 2wh/4wh/but nothing more any ideas mate
Hi. Do you shift it in N?
Hi Esen,
What do you mean?
Guess Esen meant shift transmission to Neutral when switching to other modes
Hi, Saar. It was a question in a comment above:
“also another problem i have 2wh/4wh/but nothing more any ideas mate”
As I understood, he can’t shift to low range.
Hi Esen,
I didn’t notice that question 🙂
Thank you…
Thankyou for the advice on rear brake removeal. Very helpfull mate. Had a fair idea on how to do it but its always nice to talk about tips and tricks with someone first.
Hi Saar, I own a 2013 new VRX Pajero – had a 35,000 service done in March 2016 , all seemed well , had a 45,000 service done in October 2016 – asked the mitsu service people to check the rear brakes as I had problems while fishing _ Karumba_ May – brakes seemed to lock up after letting car and boat trailer sit .To get car to move had to give it some gas – a load clunk was heard – this happened several times while on fish trip- always hosed out under car when near car wash after fish trip.Brakesonly locked up in park brake position.I often felt that the park brake was too tight but the mitsu service people did the adjustment on 35,000 klm service.At the 45,000 klm service advised that all rear brakes were rusted out – Not a happy camper – $2,000 later ( and 5 weeks later waiting for parts) have got my Pajero back. Mitsubishi , an international company , I had to wait 5 weeks for parts – Surely I don’t have the only 2013 pajero in Australia. Thanks Mark